Demo : Multi Level Menu.

Building the Menu Structure in the Backend.
1. Go to Menus — WordPress
2. Click on Menus

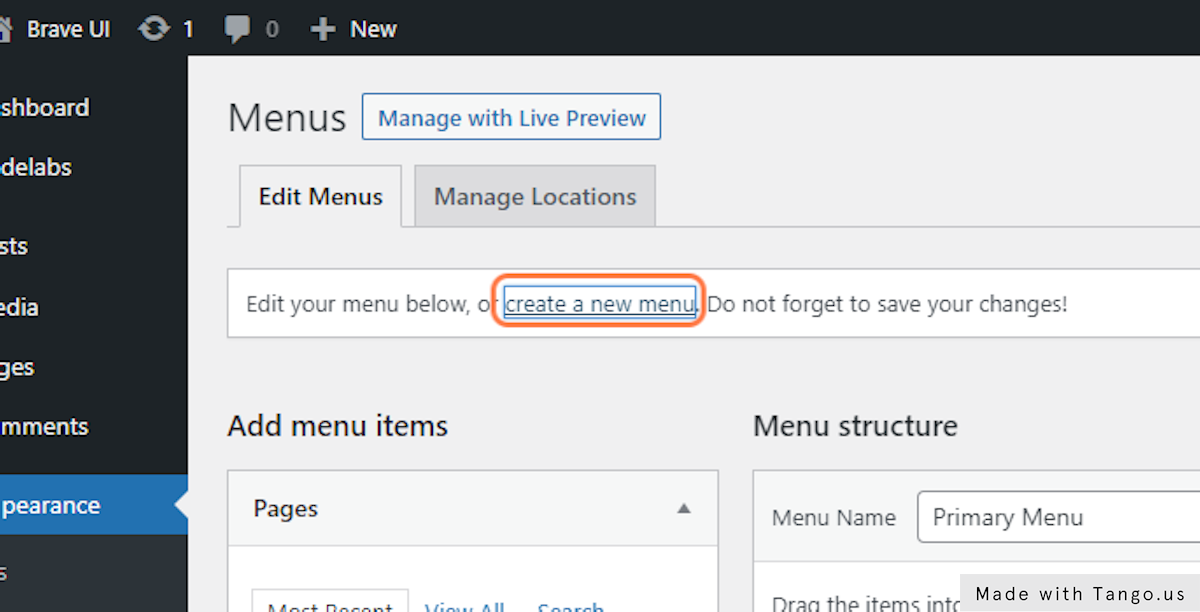
3. Click on create a new menu
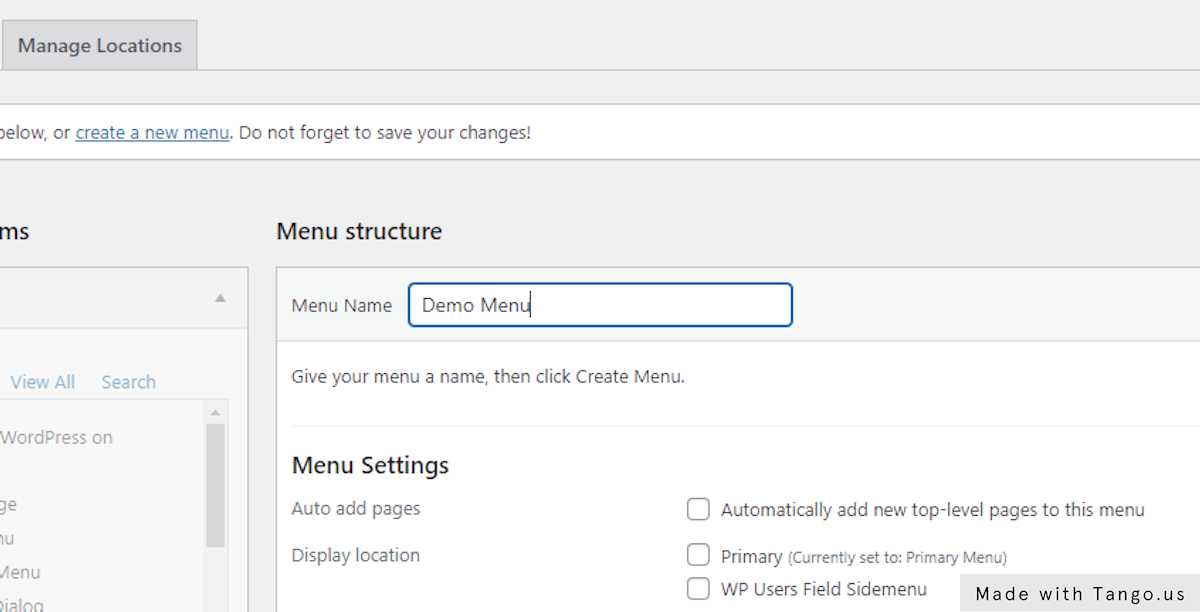
4. Type “Demo Menu”
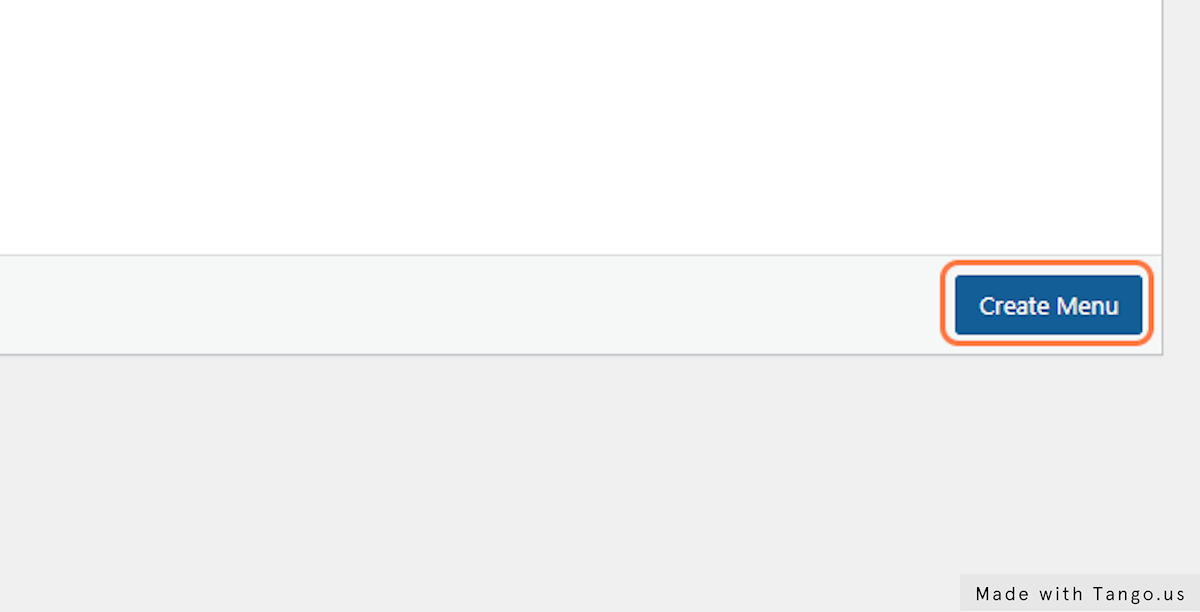
5. Click on save_menu
6. Check Sample Menus
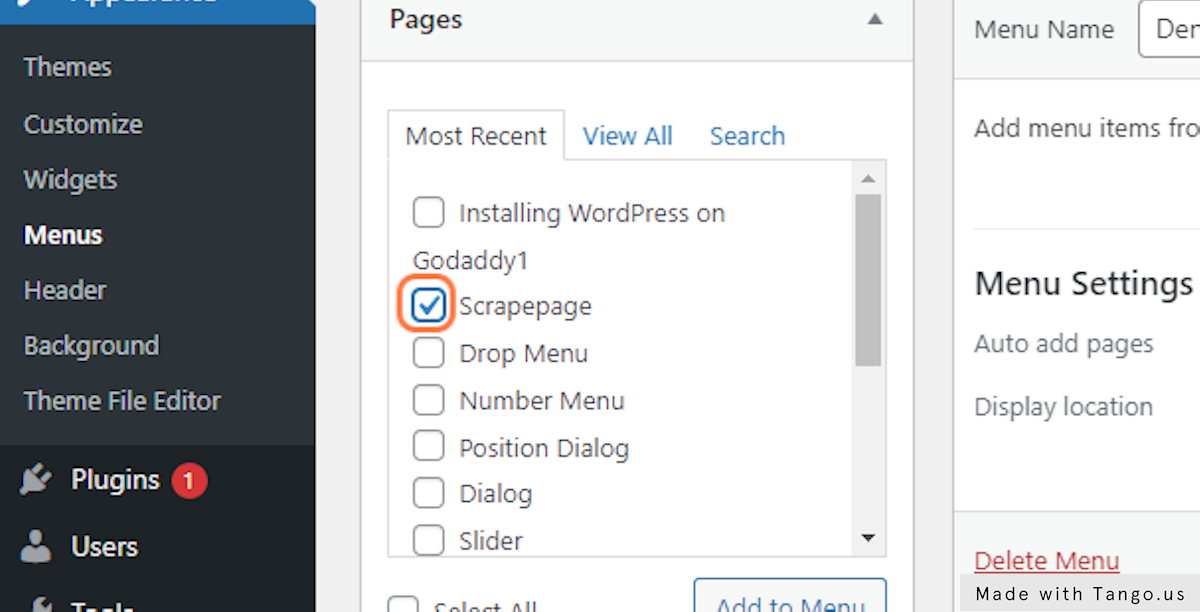

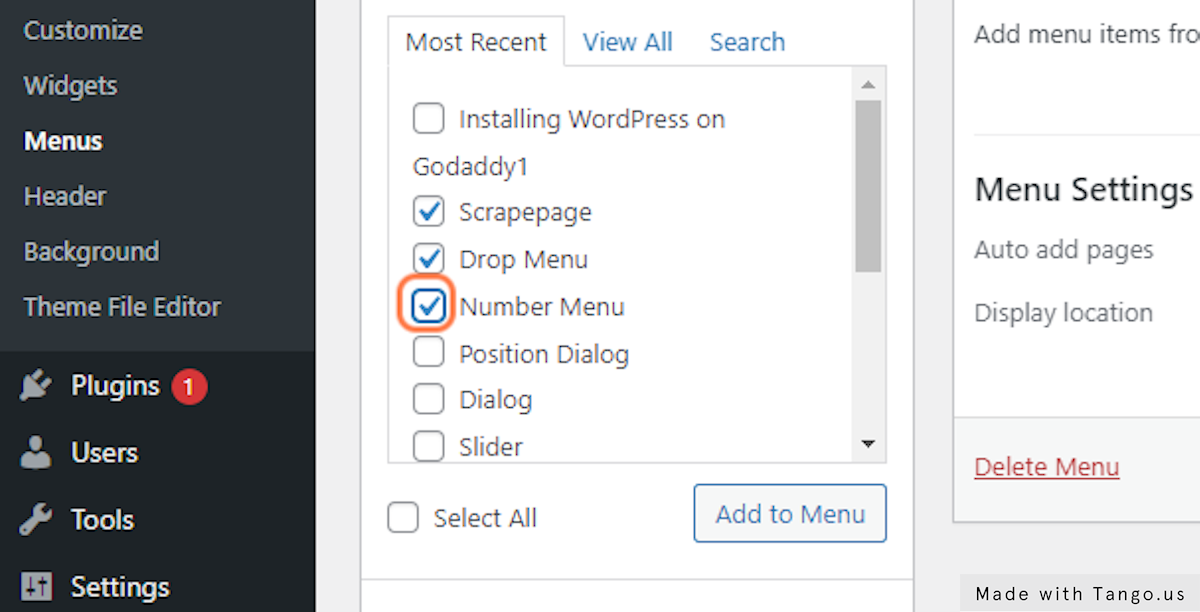
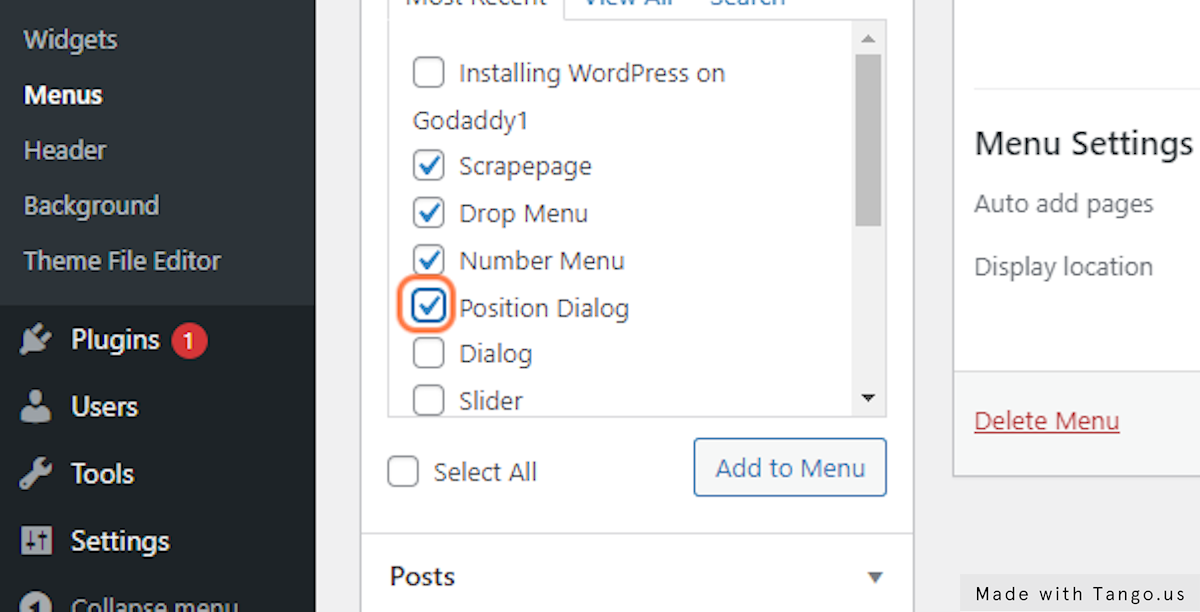
10. Click on add-post-type-menu-item

11. Drag highlighted element to form Sub-tiem
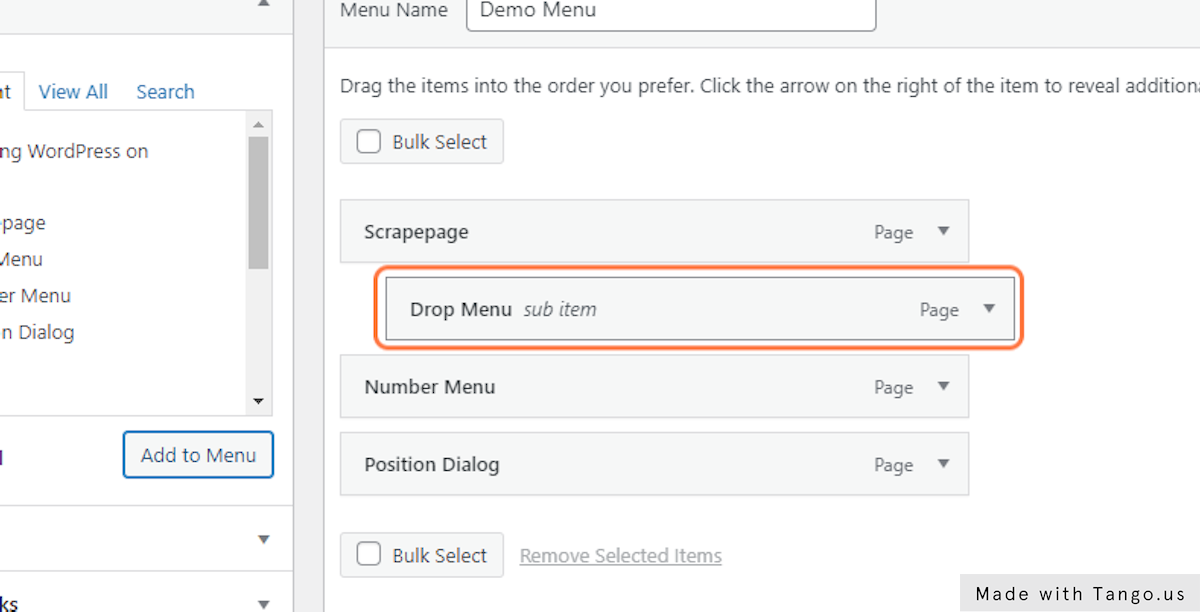
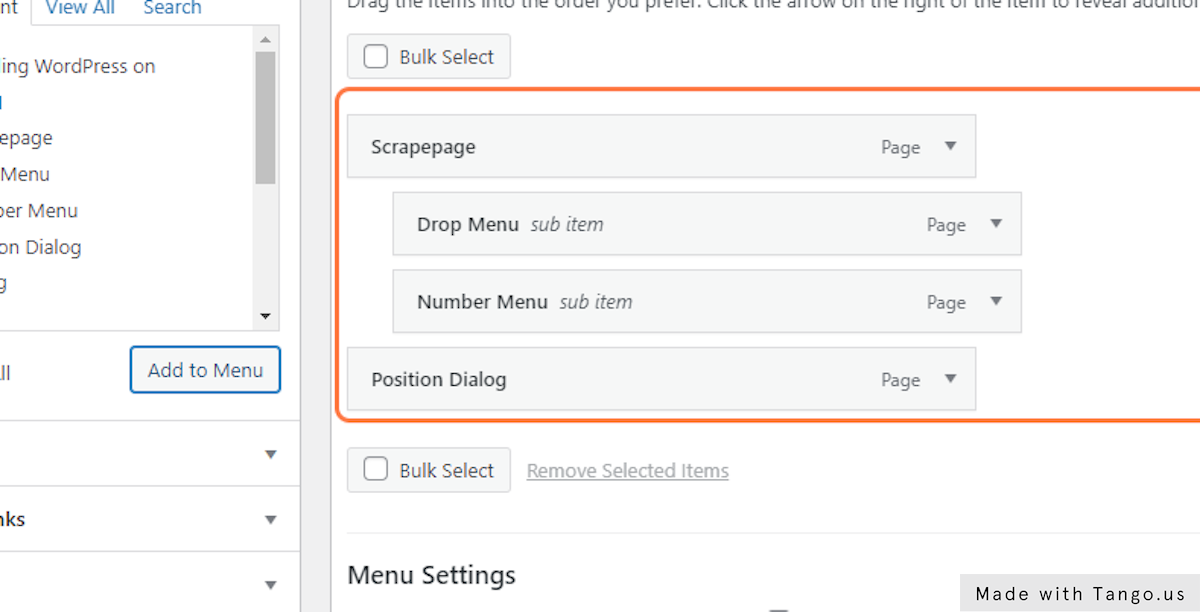
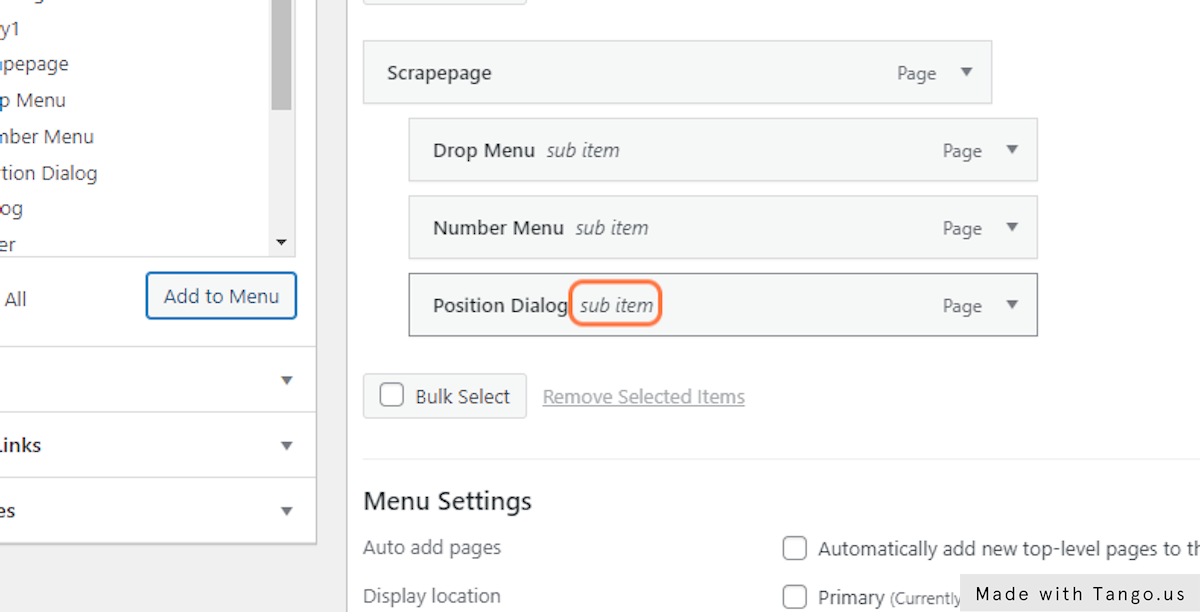
14. Click on save_menu
Creating a Menu Position into WordPress Template
In WordPress, you can add a menu location for your theme by registering it in the theme’s functions.php file. Here’s an example of how you might do this:
// Register a new menu location
function register_my_menu() {
  register_nav_menu('my-menu',__( 'My Menu' ));
}
add_action( 'init', 'register_my_menu' );
This code defines a new function called register_my_menu(), which registers a new menu location called “My Menu”. The register_nav_menu function is used to register the menu, and takes two parameters: the first is the unique location slug (in this case, “my-menu”), and the second is the human-readable name for the location.
The add_action function is used to attach the register_my_menu() function to the init action, which is run during the initialization of WordPress. This ensures that the menu location is registered as soon as the theme is activated.
Once you’ve registered a new menu location, you can go to Appearance > Menus in the WordPress admin and assign a menu to it.
You can also use wp_nav_menu function to display the menu in your theme file, also you need to assign the location in the function
<?php
wp_nav_menu( array(
'theme_location' => 'my-menu',
'container_class' => 'my-custom-class' ) );
?>
You can also style this menu through css class that you can assign with container_class parameter, also you can use other parameters to customize the menu according to your needs.
